Build Your Own Collection

Adding Depth to Layered Elements with the Burn Tool

Hi again!! Can you believe it’s already August? I’m back again to share a quick technique I use to create depth when layering/clustering elements.

One of the shortcuts I’ve come to rely on is shadow styles. You can make and save your own, and there are even some styles available to purchase out there. While I love using them, when layering and clustering, they can still leave your page looking a little flat. When putting together a cluster of elements with varying widths, the shadows are going to need a little more attention then choosing a layer style.

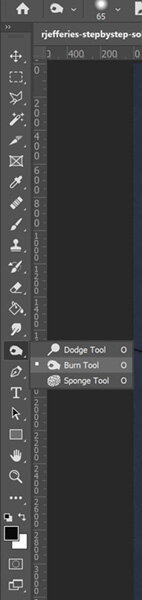
As with anything in Photoshop there are probably a few different ways to accomplish this, but today I’m going to show you how to use the Burn Tool to add shadows on top of the elements themselves.

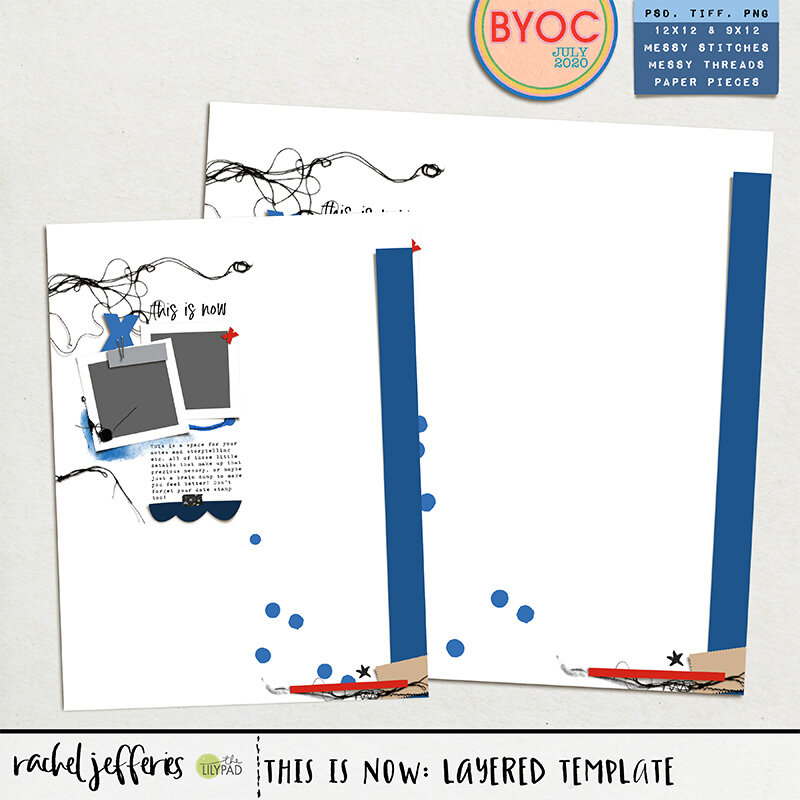
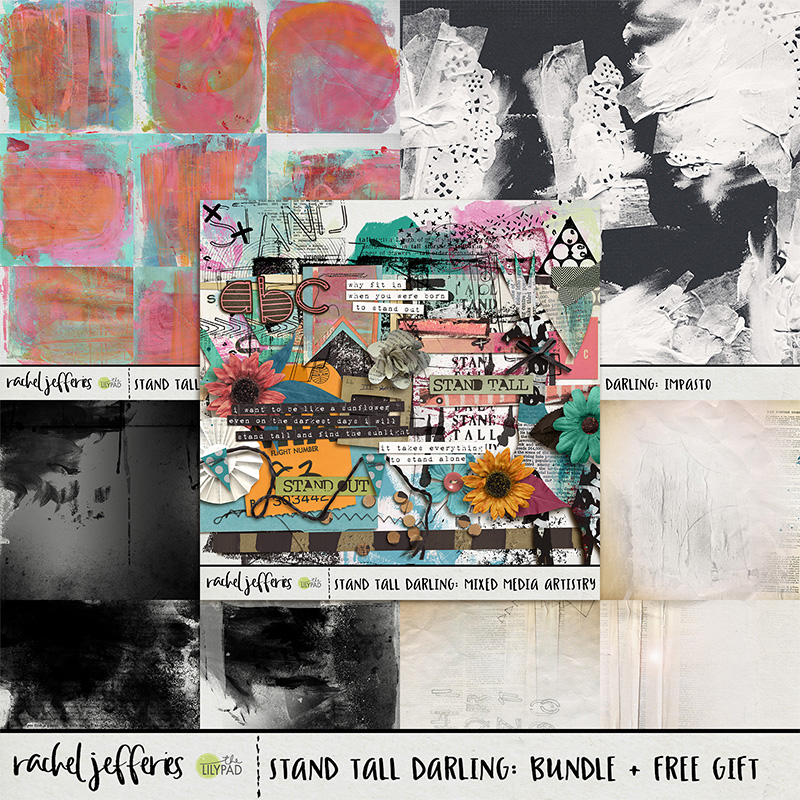
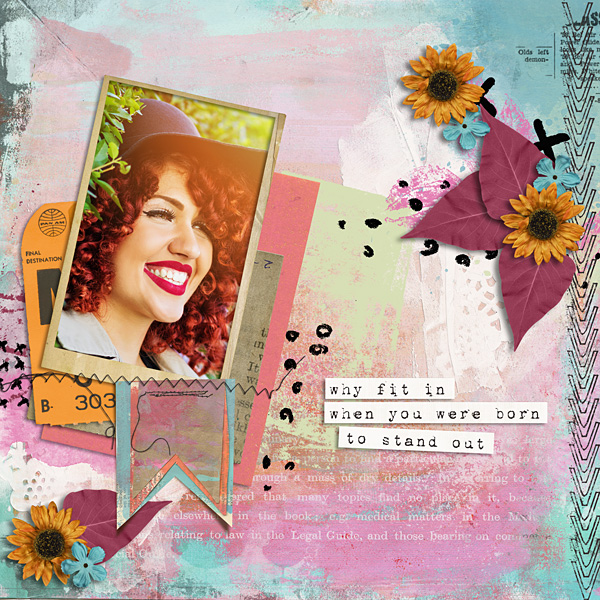
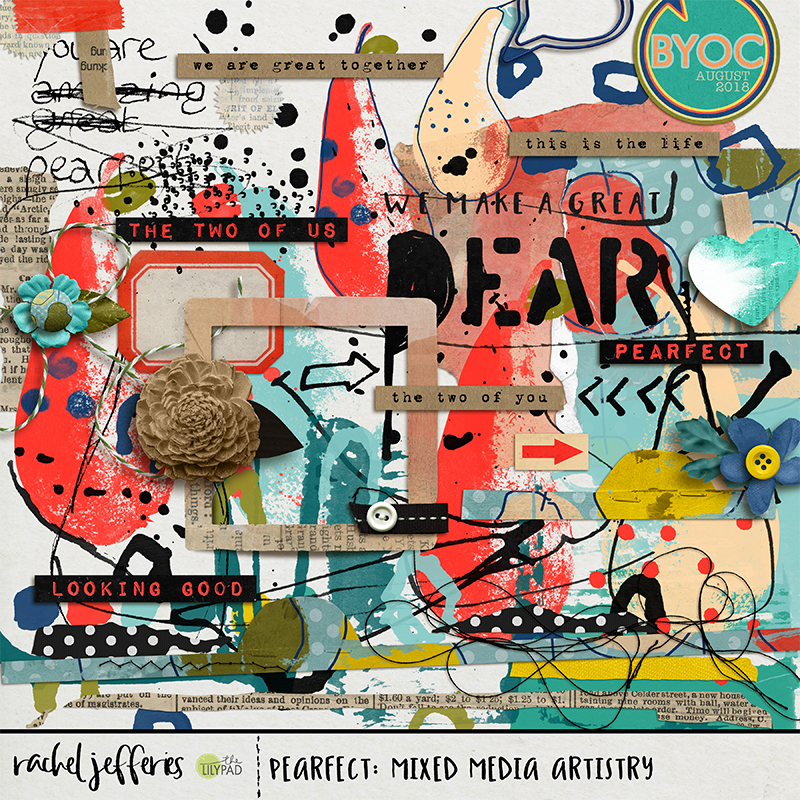
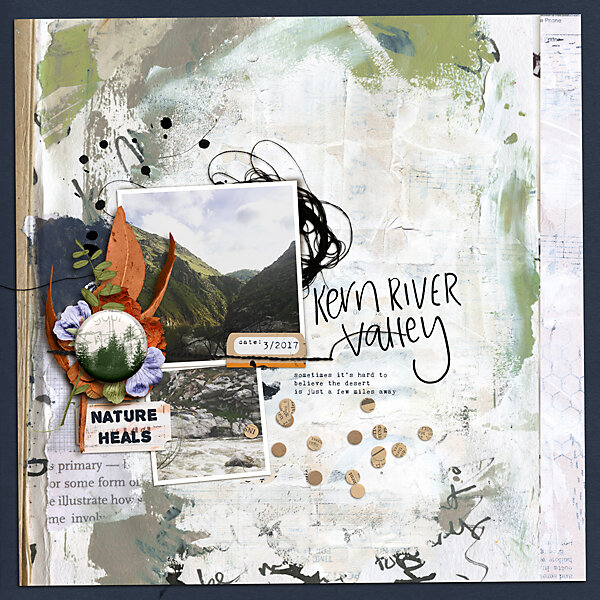
Rachel’s latest kits, Step by Step Mixed Media Paperie, Artistry & Pocket Art, released with the Build Your Own Collection at The Lilypad for August, are perfect for these photos I had of one of my favorite nature getaways.

no-cluster.jpg

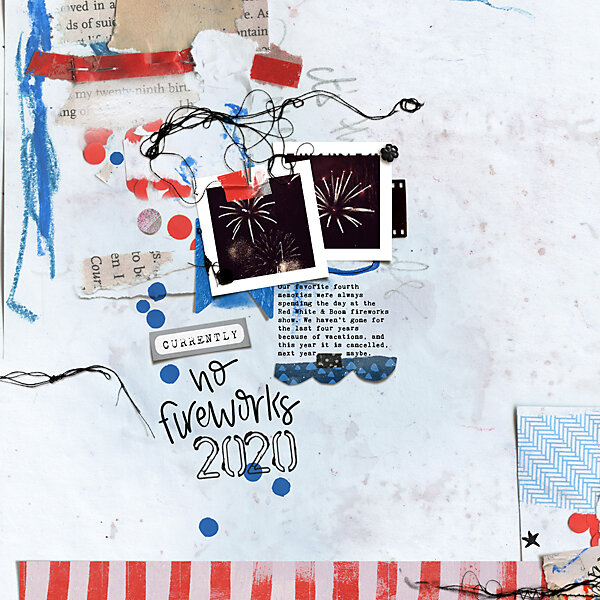
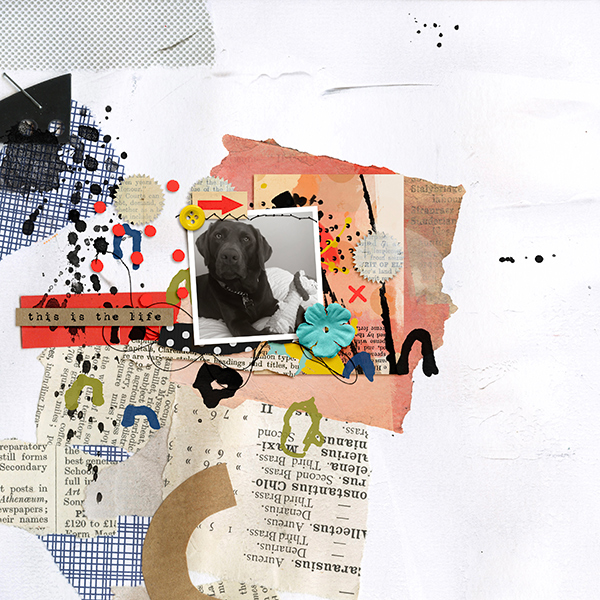
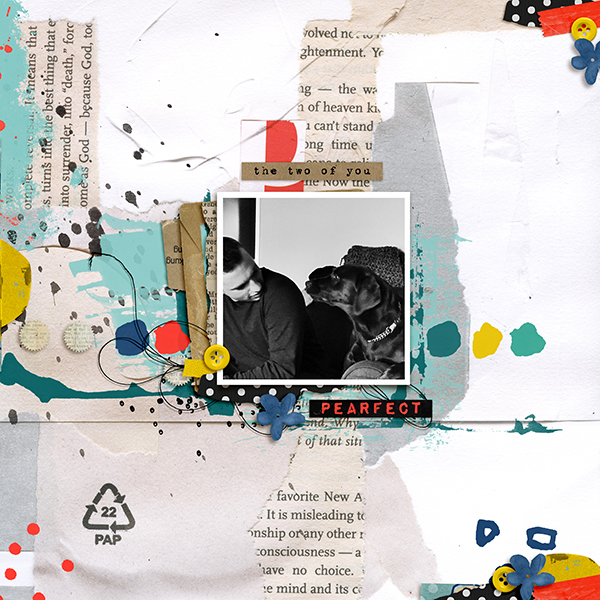
Once I got my pictures and layout together it was just screaming for a cluster of elements. Here’s the cluster with just shadow layer styles applied.

regularshadows-copy.jpg

Once I have the cluster in place and basic shadows applied I change my tool to Burn.

burntool.JPG

Once you are switched into the burn tool, check the tool settings. I like to make sure the hardness on my burn brush is pretty low, and keep the exposure low as well so I can build the shadow slowly. Change the range between midtones, highlights and shadows depending on your element, I’ll explain when we look at each element we shadow.

settings.JPG

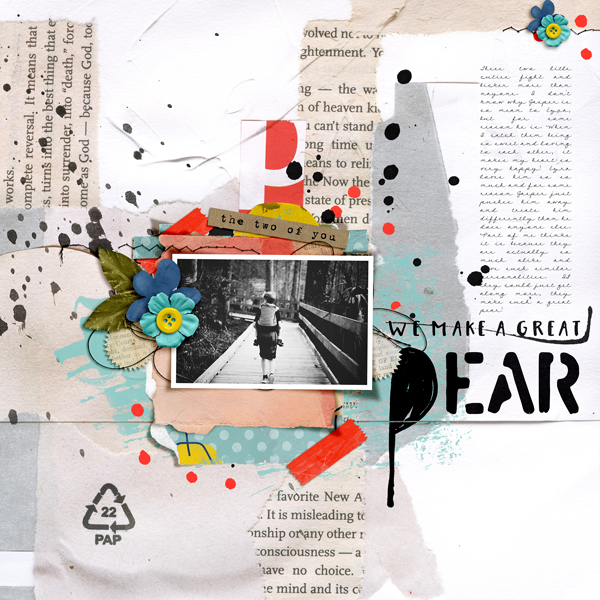
My cluster has a large circular flair button centering it. If this was a paper page, that button would be elevated from the page but would also apply pressure to the elements below it, creating not just a shadow from the elevation off the page but darkening each element where they flatten out with the weight of the button on top, creating depth. In this case we will add burn to each element where the button is flattening the element to the page.

Starting with the element layered directly below the button, rub the burn tool along the outter edge of the button, this will darken the element. In our example, the element is a bright blue flower that has a lot of highlights, so if my range is set to Midtones or Shadows you won't notice much change, but if your range is Highlights you can see the dark shadow building.

layers.JPG

In this screenshot I have highlighted the area in red where I burned the image with the tool.

burn1.JPG

Continue moving down the elements flattened by the button, burning where the button touches, but also where the layers above might be pushing down as well. Also keep in mind the range might need to be changed depending on the properties of the elements.

burns.jpg

Below are the elements before the burning and then after for you to compare.

both.jpg

As I said there are a couple ways to add shadowing and I find this one gives me a lot of control where the shadowing goes and is pretty quick when you learn how. Hopefully it’s a new tool in your box as well.

burnedshadows.jpg

Let's Talk Templates

Hello! It’s July already and that means it’s time for another Build Your Own Collab at The Lilypad. Rachel has five great products included this month and one of them is a layered template. I thought it would be fun to show you a little about templates and how I used this one.

Templates are a great way to put together a digital scrapbook page and are great for new scrappers as well as experienced scrappers. I love to use templates as they give me a place to start, and I often find I end up with a completely unique page. For me, I love seeing how so many different pages end up being created from the same starting point.

Rachel’s This Is Now Layered Template comes in two sizes and in a few different formats depending on what program you are using. You can use the 12in square page, which is the page size I typically scrap in, or you can use the 9in x 12in rectangular page if you prefer that size. Included in the download is a Photoshop file, a layered TIFF, and PNG formats. Since I use Photoshop, I’ll be focusing on the PSD file.

When you open your template in Photoshop, you’ll see a layered version of what is shown in the preview. Look in your layers panel and you’ll notice each layer is labeled, and even better, the layers are already shadowed for you, or a shadow layer has been created below the layer.

Layers.png

These added shadows are great for creating depth and realism in your pages. Rachel’s shadows are fantastic and I find that her shadows help the elements just come right off the screen.

This template comes with two frames for photos, so I started there. I knew, based on the kit colors, that I wanted to do a page about missing the US 4th of July Fireworks this year because of social distancing.
I chose one photo of fireworks and decided to use it twice.

In the layered template there are two layers added to easily clip your photo into the frames that are in the template.

clipphotoshere..png

To add your photos, add a layer above the Clip Photo Here layer and paste your photo into the layer. Drag the photo so that it’s covering the clipping layer. Then, you can right click on your photo layer and choose Create Clipping Mask. This will “clip” your photo into the shape of the layer below it, in this case the photo layer inside the frame. The photo now fits nicely in the frame!

createclippingmask.PNG
framedphoto.png

Now it’s time to make the template unique to you! With this layered template, you can use it as is, and just add photos or paper, or really turn it into your own page entirely.

You can add papers in the background layer, replace elements, or use them as a clipping mask as well. A nice patterned paper would look great clipped over the scalloped element that Rachel has included. You can move elements to your liking, rearrange elements, or turn the direction of elements.

For my page I decided to use a great Collage Mixed Media Print background that Rachel included in the matching This Is Now: Misc Paperie pack and to include elements from both the This is Now: Misc Bits & Bobs and the Misc Collage Bits & Bobs #1 element packs.

Because I chose a collage background that had a collage arrangement in the same area as the photo placement of the template, I selected all the layers in the template except the background and moved them over to the center of the page. I also took the vertical paper along the right side of the template and turned horizontal and moved it to the bottom so highlight the collage already in the background as well. I did have to change the shadowing on this element after I turned it. Then, using elements from the Bits and Bobs kit, I added a couple of elements under and over the photos to create a bit of clustering. Finally I replaced the included scalloped element and a paper piece in the template with elements included in the Collage Bits pack.

Also included in the Layered Template is a journaling block. Rachel has left this as a text layer so that it can be edited. In the screenshot below, there is a yellow warning on the font layer telling me I don’t have this font in my system. I often find I don’t have the font included on my system, but Photoshop allows you to change the font to one you have. To be honest though, I often go searching for the font that the designer used and have found some of my favorite fonts this way!

font.PNG

For the title work, I chose the Currently tag from the Bits & Bob kit, a bit of my own handwriting, and for the 2020 date, I used Rachel’s Paint and Pen Alpha. I scrap using Photoshop on my Microsoft Surface Pro, so I can easily use my stylus and brush tool to add hand lettering, but you can always use a hand lettered font. Rachel’s Paint and Pen Alpha is a staple in my scrapbooking supplies collection and I use it over and over on layouts all the time.

Here’s my finished layout using the new releases this week. If you haven’t tried a layered template yet, hopefully you got some ideas on how it can be used.

fireworks-copy.jpg

Don’t forget, the Build Your Own Collab packs are on sale through this weekend, starting at 20% off.

Stand Tall Darling & a Bundle

Welcome February! Here we are, the second month of the year, the second Friday in this month AND Rachel has two bundles for you.

Let me start with the first one which was offered to Rachel’s newsletter subscribers last weekend and will be available in her shop this week. If you missed out on the BYOC Jan. 2019 sale here is your chance to get Rachel’s pieces in a bundle!

BYOC January 2019 Bundle

image (6).jpg

Stand Tall Darling is from a previous shop but Rachel has revamped some pieces, taken out others and added some new ones. You can check your stash but I think you will love the new bits she has added to one of my favourites.

Here are some lovely pages from Rachel’s team

Have a fabulous weekend!

~jaye


A Pearfect fit at The LilyPad

It's been exactly twelve months since I hung up my designer hat and a lot has changed for me. Our family has been blessed with a beautiful baby girl, Mackenzie Grace Jefferies who is already ten months old. Keaton has graduated from his pre-school nursery and will be starting school in reception class in September. 

I've dabbled in some digital scrapbooking during my break, I've taken some art classes and I've been busy creating in my sketchbooks again. It's been amazing to have been able to take a twelve month maternity leave and I've really enjoyed that precious time with my family but I'm ready to begin work again and to be creative on a more regular basis. I've really missed the connection with the digital scrapbooking community and I'm following my heart and returning to design!

With effect from today I'm a resident designer at The LilyPad! I'm thrilled to have been given this opportunity and I'm absolutely buzzing about it! I'm really excited about the direction that my design business is headed in and I'm so very grateful that you are here to share the journey with me, so thank you :)

New Releases & Offers

I've been working in my sketchbook making marks, sketching and drawing, stamping, painting, monoprinting, collaging, you name it!  All of my work is featured in new releases this week for our Build Your Own Collection. 

I've been filling my sketchbooks with pears, little miss Mackenzie is quite taken with them at the moment so Pears are on trend in our household! She inspired the collection first and foremost along with the sweet bond she has with her older brother. This collection is very versatile and is perfect for everyday scrapbooking but is particularly great for highlighting relationships.

I'll pop a note in here about the offers for those of you who just want to get straight to shopping! All of the Build Your Own Collection releases are 20% OFF 3rd - 5th August PLUS the more you buy the more you save.

Here is a page by me using my mixed media artistry and the collages featuring my little cuties who made this collection possible.

digital scrapbook layout by Rachel Jefferies

This collection is available to purchase now and consists of Pearfect: Mixed Media Artistry, Newsworthy: Mixed Media Collages, Pearfect: Pocket Art and Inked: Layered Template 01

As always some diverse inspiration from my Creative Team!